Building and Deploying V1
Here is our plan for this lesson:
- Ask Codex to build the first Maestro Flow version, V1.
- Inspect the flow in Studio Web and connect any missing outcome lines.
- Deploy V1 from Studio Web into your personal workspace.
Goal
By the end of this lesson you'll have V1 deployed: a flow that takes a support ticket, lets an inline agent classify it and draft a reply grounded in the SupportKB index, and sends every draft to an Action Center review task assigned to you. V1 is deliberately simple. It's the baseline you measure the next two versions against.
What V1 looks like
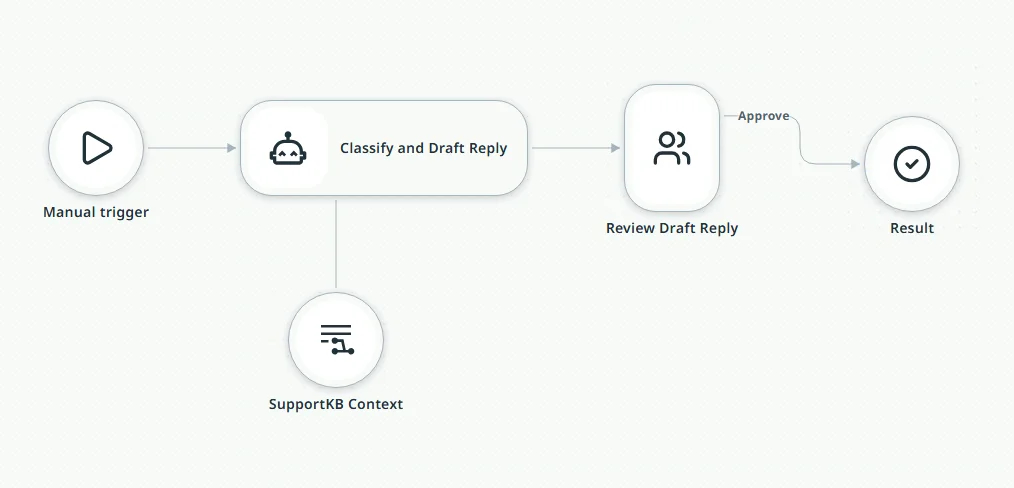
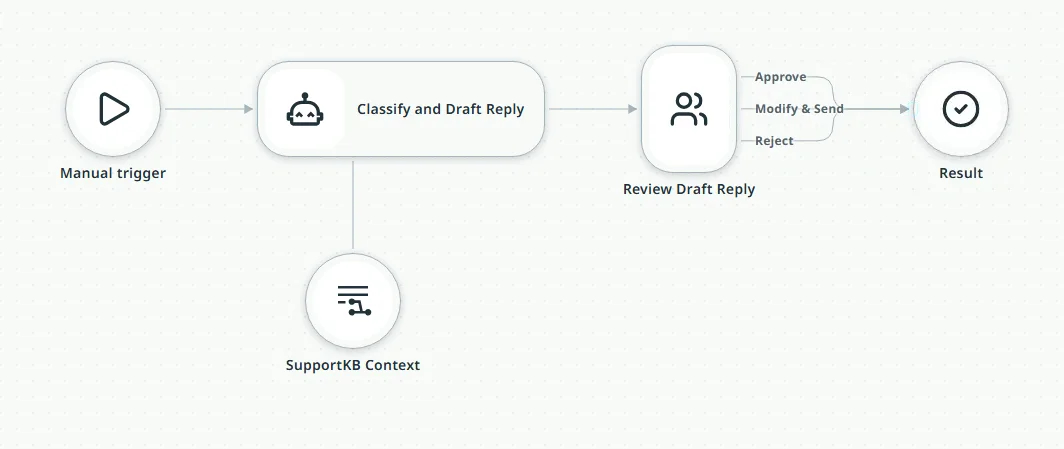
In the designer you see trigger, agent (with a knowledge attachment), review task, end. The review task has three outcomes, Approve, Modify & Send, and Reject, and all three route to a single terminal result.
Deploying is the one browser step you repeat three times today. Codex builds, validates, and uploads; you click Deploy in the designer.
Steps
1. Prompt 2: build V1
For this step, Codex will work for 10-12 minutes.
Paste the build prompt:
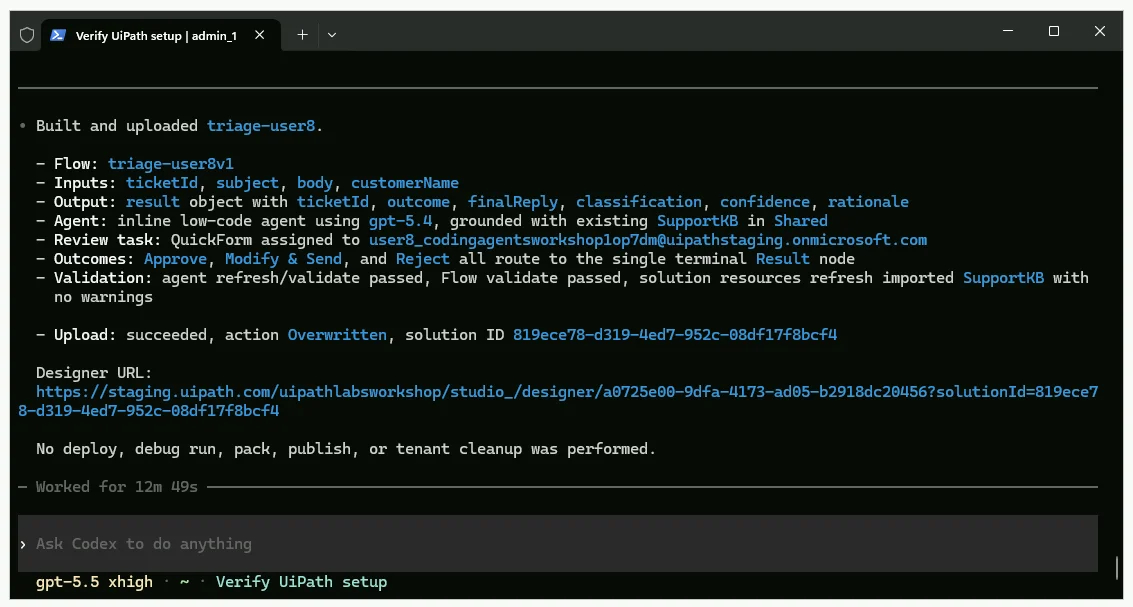
Build a Maestro Flow solution named after my team code from AGENTS.md (for example triage-user24), with a flow named my team code followed by v1 (for example triage-user24v1). It takes a support ticket (ticketId, subject, body, customerName) as inputs. An agent classifies it and drafts a reply grounded in the existing SupportKB index in the Shared folder, then an Action Center task assigned to me lets me Approve, Modify & Send, or Reject. Keep ticketId on the task and the final output, and route all three action center outcomes to a terminal result. Validate it, refresh the solution resources so the index links up, upload it to Studio Web, and give me the designer URL.
2. Inspect the flow in Studio Web
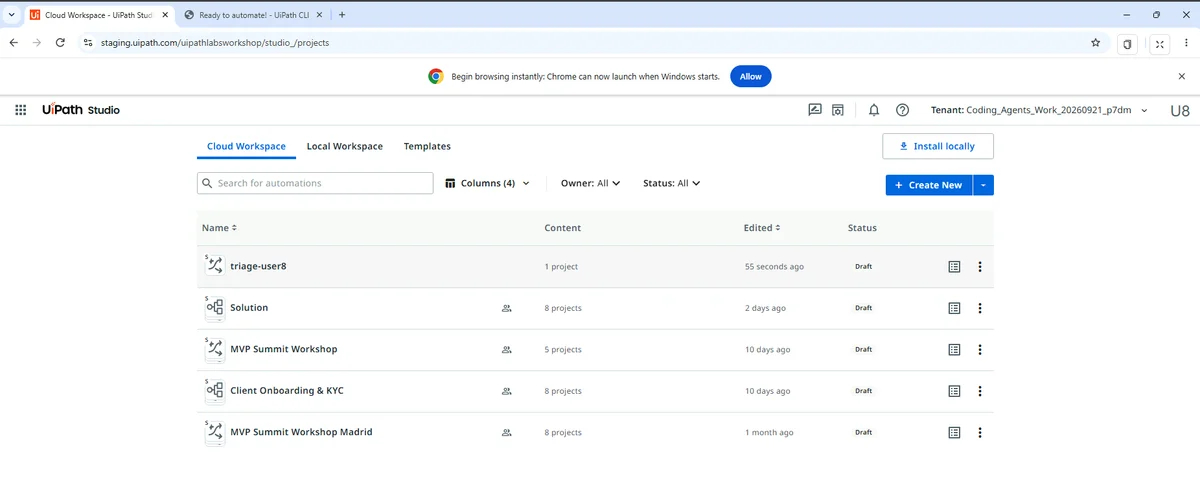
When Codex finishes, refresh the Studio Web view and open the project created "triage-user[number]".
Take a look at the Flow Codex created.
Attach any missing outcome lines from the Action Center task to the end node.
Checkpoint
Codex reports a designer URL, flow validate passed, and solution resources refresh imported the index (it should say "Imported 1", not "Created"). In the designer you see trigger, agent (with a knowledge attachment), review task, end. In the task node's recipient, the assignee is type "user" with your email, not the default "group". Warnings about outcomes without downstream nodes are fine; they don't block deploy.
3. Deploy V1 from Studio Web
The deploy log runs for about a minute.
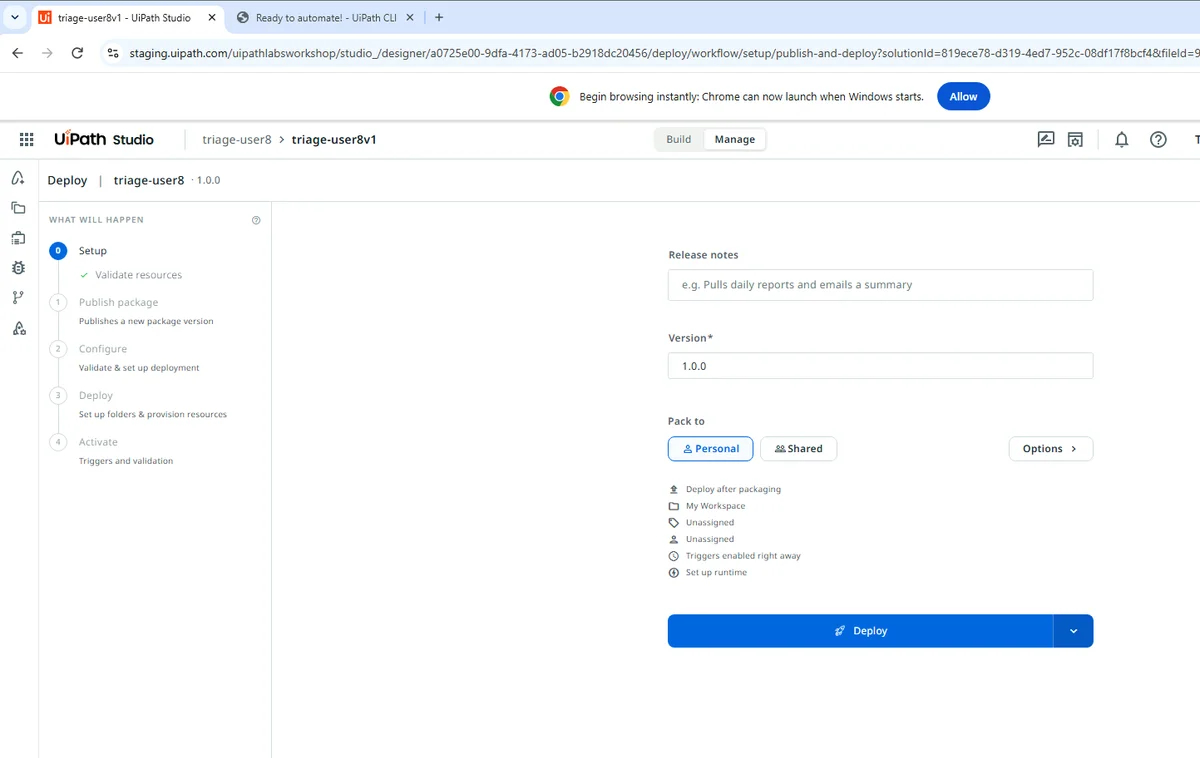
- In the designer, click Deploy.
-
Leave "Pack to" on Personal. This deploys into your own personal workspace.
-
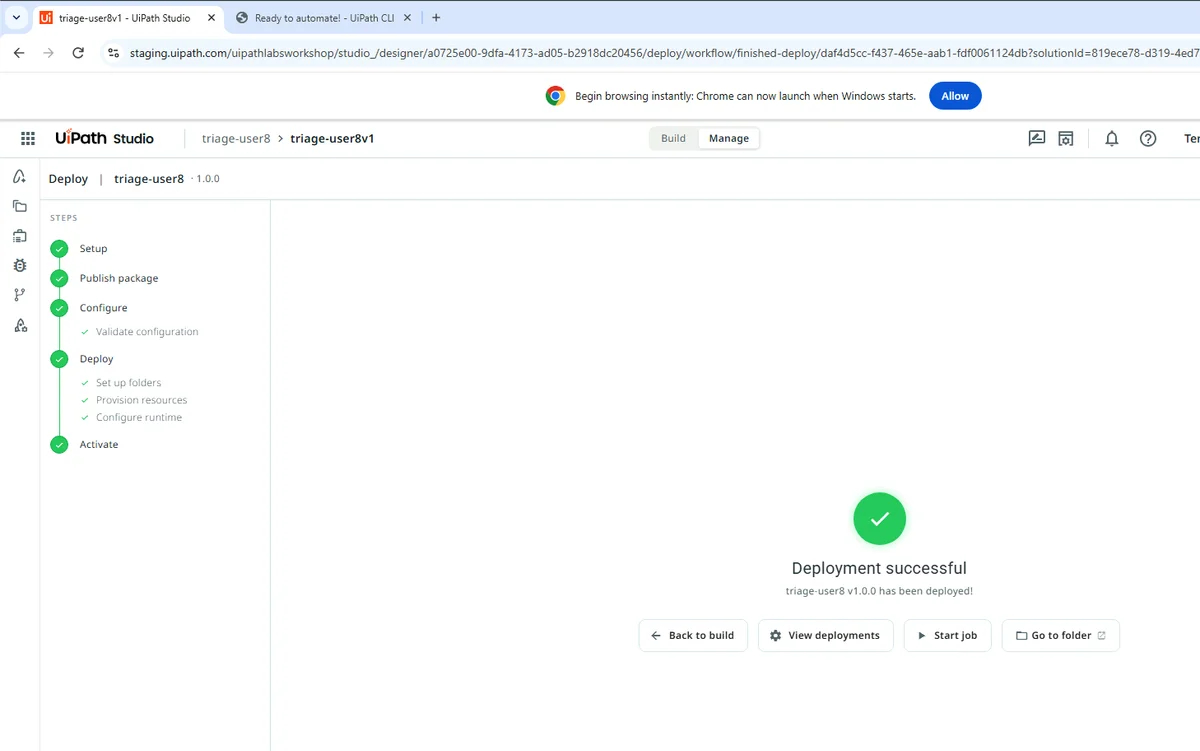
Click Deploy in the wizard and watch the log for "All services activated successfully".
Checkpoint
"Deployment successful" with your version number, and a new folder named after your team code (for example triage-user24) exists inside your personal workspace (My Workspace) on the tenant. If publish fails with "version already exists", bump the Version field in the wizard and retry.